 Wishlist
Short answer: build a system sized to your real loads, use quality batteries and an MPPT charge controller, wire conservatively, and test under real conditions.
The most reliable off-grid power setups are planned around measured energy needs, overbuilt slightly for cloudy days and aging components, and kept simple: roof or ground-mounted solar, a properly sized battery bank, an MPPT charge controller, a pure-sine inverter sized for peak loads, and a clear distribution/wiring scheme. Below is a practical sequence you can follow from planning to first startup, plus common troubleshooting and a recommended product option.
Decide how much usable energy you need
Start by listing every electrical device you’ll run and how long each runs per day. Convert to watt-hours (W × hours). Sum those for a daily energy requirement. Then plan for autonomy—the number of cloudy days you want to ride out without sun. Two days is common for modest systems; three–five days for remote cabins.
Example: a 100W fridge (runs ~8 hours/day total) = 800 Wh/day. If your daily total is 3,000 Wh and you want two days autonomy, store ~6,000 Wh of usable energy.
Choose battery capacity and chemistry
Decide usable capacity (not just nameplate). Lead-acid (AGM or flooded) should avoid discharging below 50% to preserve life, so require twice the usable capacity. Lithium (LiFePO4) is more expensive but provides ~80–90% usable capacity, higher cycle life and better performance in cold—often the best long-run choice for reliability.
From the example above, for 6,000 Wh usable: with LiFePO4 you’d spec ~7,000–7,500 Wh (allowing headroom). For lead-acid you’d need ~12,000 Wh bank.
Select solar array size and charge controller
Solar array sizing depends on location, tilt, and seasonal sun. A quick rule: daily solar watt-hours ≈ panel wattage × peak sun hours × system efficiency (0.7–0.8). If you need 3,000 Wh/day and get 4 peak sun hours, aim for roughly 3,000 / (4 × 0.75) ≈ 1,000 W of panels.
Use an MPPT charge controller whenever possible; it extracts more power in varying light and cold conditions than PWM. Match the controller’s current rating to panel output and the battery voltage (e.g., panels that produce 1,000 W into a 12V battery need ~83A controller). If you’re upgrading panels or batteries later, leave margin in the controller’s rating.
Pick an inverter and distribution strategy
Choose a pure sine wave inverter sized for your largest simultaneous AC load, not just average. For example, if a microwave (1,200 W), fridge startup (800 W), and a few lights (200 W) might run at once, a 2,000–3,000 W inverter with a robust surge rating is safer.
Keep critical circuits on their own distribution panel or transfer switch (if you plan to add a generator). This lets you prioritize essential loads and avoid overtaxing the system.
Wire for low loss and safety
Use wire sizing tables and keep cable runs short when possible. High currents (12V–24V systems) require thick cables—voltage drop above 3% wastes energy and stresses components. For longer runs consider stepping up to 48V to reduce currents and conductor sizes.
Install proper fusing at every positive conductor near the battery, use insulated terminals, and mount batteries in a ventilated, non-metallic tray if using flooded lead-acid. Label wires and document the system—this pays off during troubleshooting.
Install, commission, and test the system
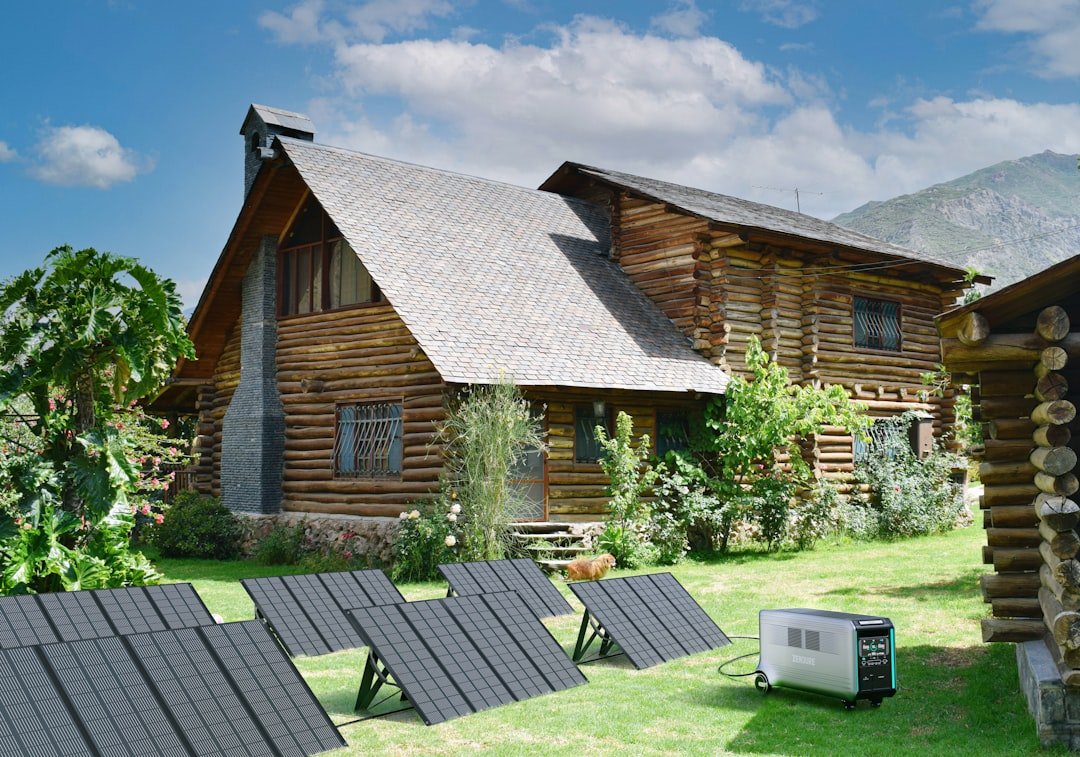
- Mount panels and orient/tilt for your latitude (tilt = latitude ± seasonal adjustments).
- Install battery bank and charge controller but keep PV array disconnected while configuring battery settings.
- Program the MPPT controller to the battery chemistry and charge voltages recommended by battery manufacturer.
- Connect inverter and distribution panel; test AC circuits with a small load first.
- Re-connect PV and verify charge current and voltages with a multimeter. Run a day/night test: operate typical daily loads and watch battery state-of-charge and charge recovery the next day.
Troubleshooting common problems
- Low charge current from panels: clean panels, check PV open-circuit voltage, inspect wiring and connectors, verify MPPT settings and battery voltage (over-voltage or a faulty battery can prevent charging).
- Rapid battery voltage drop under load: check for high-resistance connections, aged batteries, or loads larger than expected. Measure voltage at battery terminals under load to isolate wiring losses.
- Inverter trips or won’t start: verify inverter ground, check DC input voltage is within inverter spec, and ensure surge loads aren’t exceeding inverter capacity.
- Poor runtime despite correct sizing: re-visit load calculations—some devices use more energy than their nameplate suggests, or standby loads accumulate. Add a power monitor to baseline consumption more accurately.
When a portable power station makes sense
If your needs are modest or you want a turnkey, low-maintenance option for a cabin or temporary off-grid use, a high-capacity portable power station can replace a custom battery/inverter/charger stack. It simplifies wiring and often includes integrated MPPT and AC outlets.
For a compact but reliable option that suits small cabins and weekend sites, consider the Jackery Explorer 1000 v2, which is well-ranked for portability, built-in inverter capacity and ease of use.
Maintenance and long-term tips
- Inspect connections and terminals quarterly; tighten and clean corrosion.
- Monitor battery health—voltage under load and charging acceptance; replace cells in multi-battery banks in matched sets.
- Keep software/firmware on smart inverters and controllers updated when possible.
- Plan for expansion: leave space in mounting racks and extra conduit for future cable runs.
- Calculate real daily watt-hours and choose autonomy days.
- Select battery chemistry sized for usable capacity and future needs.
- Size solar array and MPPT controller using local peak sun hours.
- Choose a pure-sine inverter sized for surge and continuous loads.
- Fuse all positive runs, use correct wire gauge, and label circuits.
- Commission with a full-day test and document settings and measurements.
A reliable off-grid setup starts with accurate load measurements and modest overbuilding to cover inefficiencies and bad-weather days. Invest in quality batteries, an MPPT charge controller, correct wiring and clear distribution so the system is robust and serviceable.
How large should my battery bank be for a cabin?
Size it by usable watt-hours: total daily load × days of autonomy, then divide by usable depth-of-discharge (e.g., 0.8 for LiFePO4, 0.5 for lead-acid) to get required nameplate capacity.
Is MPPT necessary for off-grid solar?
MPPT controllers recover more energy in variable light and when panel voltage is higher than battery voltage, making them worth the extra cost for most off-grid systems.
Can I mix battery types in one bank?
No—mixing chemistries or batteries of different ages/capacities leads to poor performance and shortened life. Use matched batteries or a single battery module type.
What’s the benefit of using 48V systems?
Higher system voltages lower DC currents for the same power, reducing conductor sizes and losses—useful for larger setups or long cable runs.
Should I install a generator backup?
A generator is practical for extended cloudy periods or high loads; use an automatic transfer switch or manual transfer procedure and size the generator to handle both inverter charging and critical AC loads.